Cloud storage platforms such as SharePoint offer the ability to share out files however control and visibility of files within sites can be difficult to control and monitor who is interacting with your files and when. This is especially true when you’ve opened your organization’s platform to third parties. But Couchdrop has features to make these concerns a non-issue.

Using Couchdrop as a secure file portal for SharePoint and Azure
The ability to securely collect files from third parties into your Azure Blob and File storage would be nice, however, it is not so easy with Microsoft’s standard offering. This is where Couchdrop’s Secure File Gateway comes into play.
Couchdrop sits on top of your cloud storage and enables you to control, monitor and accept access to files and sub-directories within your cloud storage platforms while removing the complexity of sharing to the unknown and wondering if it has been configured correctly. While Couchdrop also offers the ability for external parties to interact via SFTP, FTP, email, and a few other methods, we’ll quickly show you how simple it is to configure a simple upload web portal.
Step 1. Create a Couchdrop account
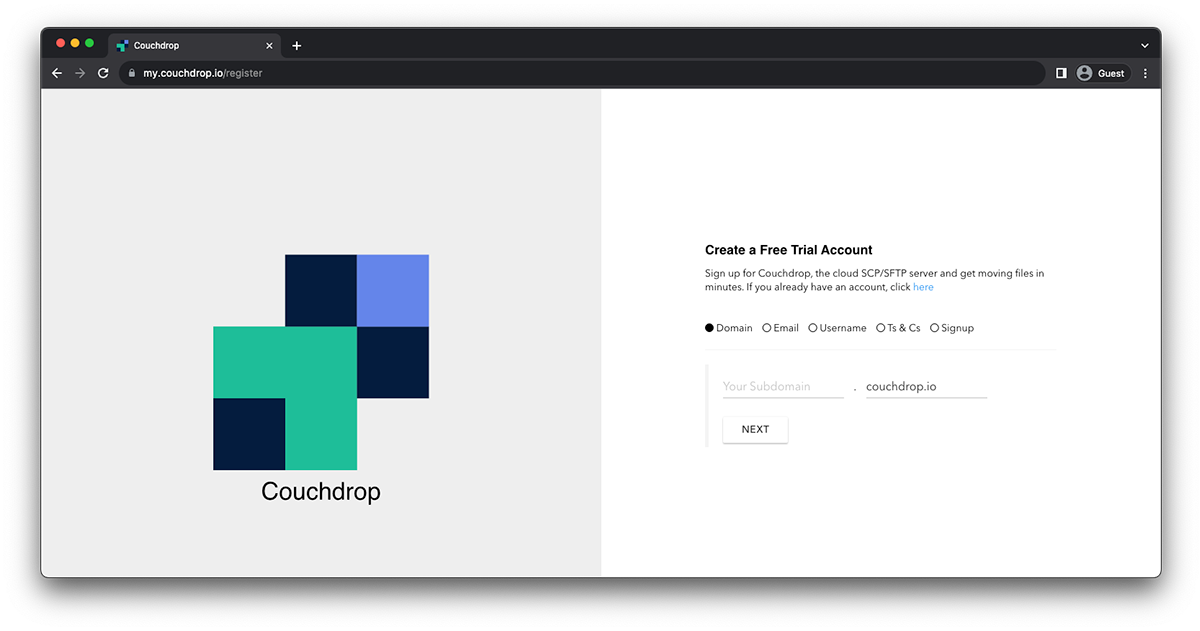
You'll need to register for a Couchdrop account first. It's easy and only takes a minute, and you can try it free for 14 days with no credit card.
Step 2. Connect your SharePoint and/or Azure account
Simply select connect storage and you will be taken to your storage management tab under admin. Select your chosen storage endpoint (SharePoint in this case). See guides here on connecting other platforms.
It’s as easy as specifying a document library and connecting your SharePoint via OAuth.

Step 3. Create an external user who will access the files
Go to Admin — > User Accounts then Add User. Provide a username and password and specify the folder they should have access to within SharePoint using the folder navigation. Decide if you would like them to have full access or limited (more granular permissions can be configured later). Guide on creating users within Couchdrop.

Step 4. Connect
For your customer to begin working they would simply go to your dedicated Couchdrop domains. Which can be located here. Your external client now logs in with the created user and they will be isolated to the chosen folder above to upload files to.
Another option is to use a web portal Inbox. Couchdrop’s Web Portals can be white labeled, then you simply share the URL and anyone can upload files there and they will be uploaded to the specified directory in your cloud storage.

Keep track of file transfers with reporting and alerting
If you need to know whenever a file transfer is attempted, you can turn on settings in Alerting to be notified for uploads, downloads, and/or failures.

Couchdrop also keeps detailed logs of all file transfers and other actions within the platform so that you always know what files were added, removed, or changed.

Test Couchdrop with a 14-day free trial
See how Couchdrop's secure file portal for SharePoint and Azure can simplify file transfers by testing it for yourself. You can try Couchdrop free for 14 days with no credit card required and no hoops to go through. Simply sign up and try it out. Start your free trial today.