Traditionally setting up an SFTP server involved finding hardware or creating a file server as a virtual machine, working out how to run a Linux package, ensuring firewall rules are configured and then attempt to have your third party connect and interact with files that would also reside on the same server.

Simplified SFTP server setup with Couchdrop
While setting up an SFTP server has traditionally been a complex process, Couchdrop's simple cloud SFTP server has greatly simplified the process. Couchdrop is a fully-hosted cloud solution that makes this process easy as it removes the need for managing infrastructure and firewalls and can integrate with your cloud storage (SharePoint, Dropbox, S3, etc.) to make data accessible outside of the SFTP server itself.
Configuring an SFTP server now can take literally 5 minutes and only takes a few steps, these steps in summary are:
- Step 1 — Create a Couchdrop account
- Step 2 — Connect storage (or choose Couchdrop’s storage)
- Step 3 — Create an SFTP/FTP user for your external users/parties
- Step 4 — Have your users connect via SFTP/FTP
How to setup an SFTP / FTP server guide
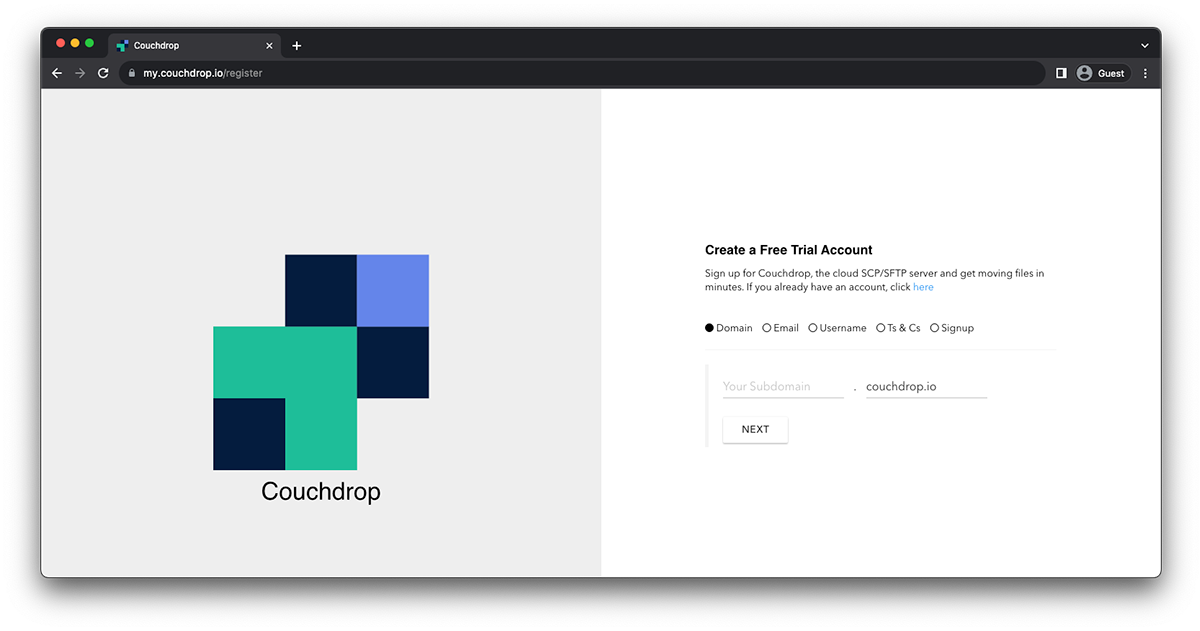
Step 1 — Create a Couchdrop account
Navigate to Couchdrop and create an account. Don’t worry you don’t need a credit card straight away and you can get access to a free trial for 14 days to test and make sure it does what you need it to.
Step 2 — Connect Storage
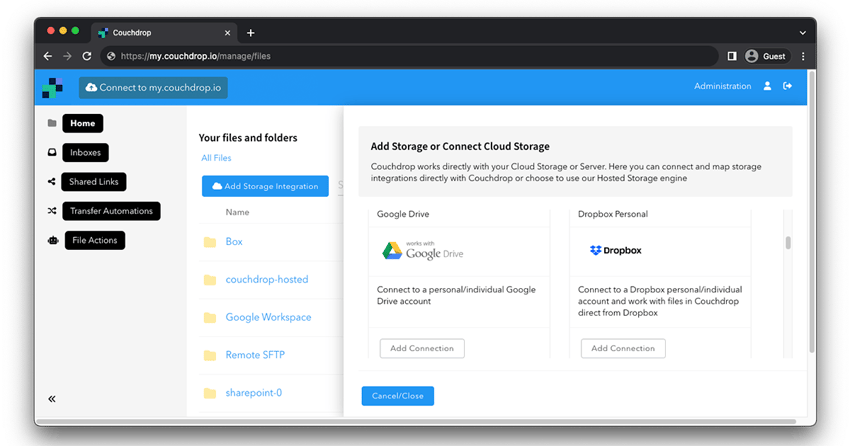
Once you’ve signed up you will immediately get a screen (see below) where you can now connect your storage backend, select your desired storage by selecting Add Connection within the tile. You can connect your existing storage and Couchdrop doesn't store your data.
Note: If you don’t wish to connect your own storage, you can simply opt-in to use Couchdrop’s storage which is encrypted and backed by Amazon S3. Since this is hosted storage it of course will be stored by Couchdrop.
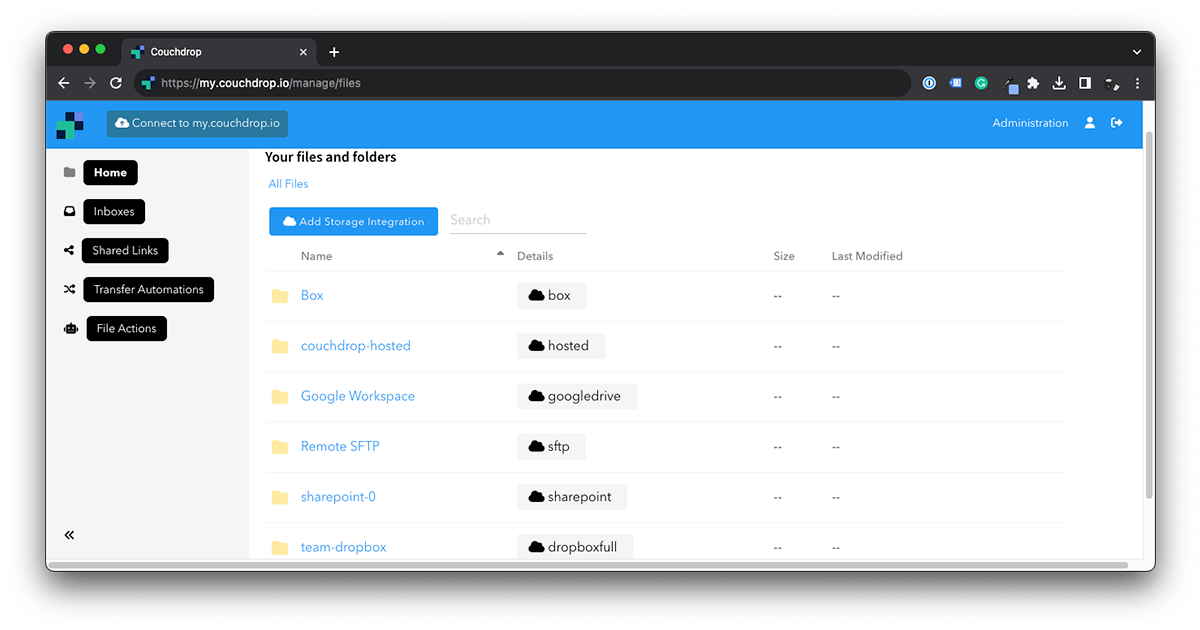
In this case we’re connecting Couchdrop’s storage, and selecting the US region. Take note of the alias you name it, in this case we’ve called it couchdrop-hosted.
Step 3 — Create an SFTP/FTP user
Now you need to create a user for your external party to connect to your new SFTP server with.
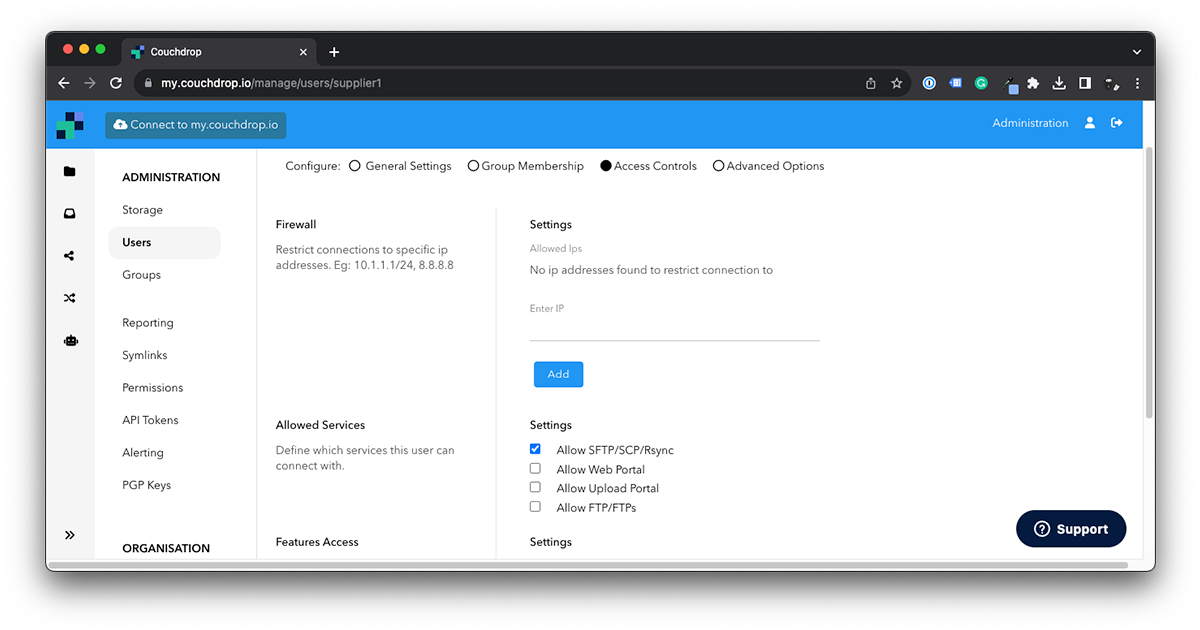
- Head to Administration -> User Accounts and Create New User
- Configure the account with the following: Username, Password, Directory (this will be under the alias of your storage you connected before), Make the user active and then Save User Settings
- Couchdrop allows for a wide variety of user permissions such as Read/Write access, transfer protocol restrictions, and more.
Note: You can specify a sub-directory here under the Home/Root Directory section so that each device accesses its own home folder within your root storage folder.
Step 4 — Have your user now connect via SFTP
Provide the following information to your user for configuration in their SFTP client:
- SFTP/FTP Hostname (SFTP/FTP domain found here when logged in.)
- Username and Password (for the user created before)
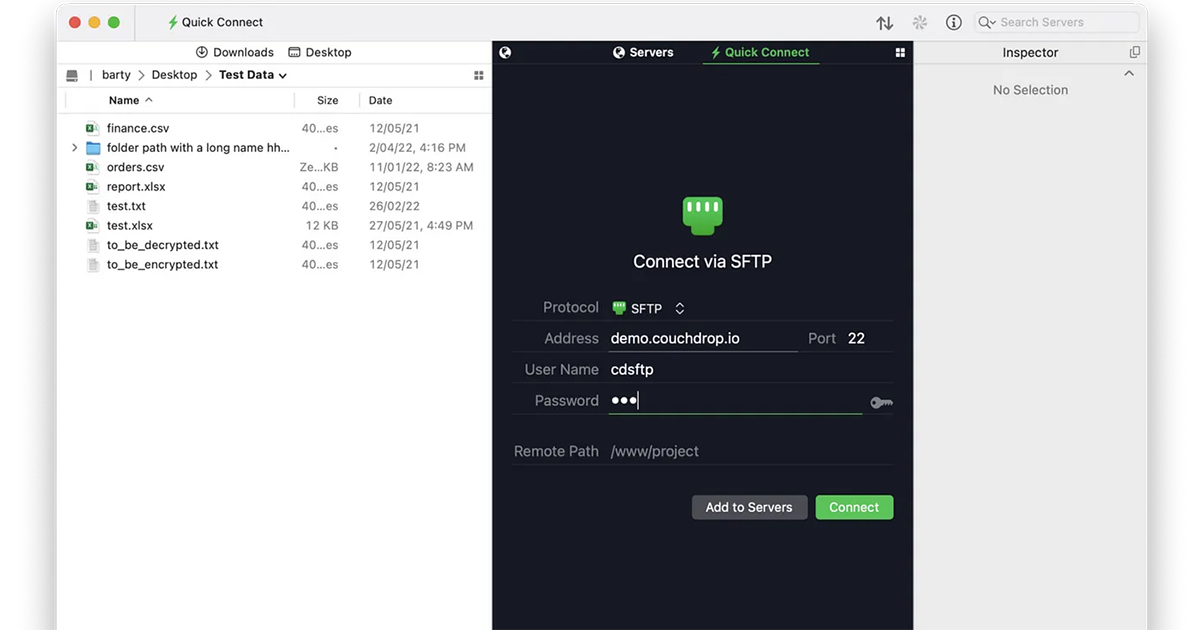
And that's it! Your user can now connect via SFTP using their SFTP client of choice.
Next steps after setting up an SFTP server
After setting up an SFTP server, you can simplify workflows using Couchdrop's additional features like Transfer Automations. These are powerful automations that can automatically move, rename, encrypt/decrypt, and more. If you have frequent file transfers between storage platforms, you can save a significant amount of time and reduce the likelihood of errors through automations.
Ready to set up your SFTP server? Remember that you can try Couchdrop free for 14 days, and you don't need a credit card or have to jump through any hoops. Simply sign up and go to get started.