Skyvia enables you to automatically export data on a regular basis to an SFTP endpoint. When using the likes of Couchdrop SFTP, this could be utilized as part of an ETL process, primarily if you are looking to expose this data to a vendor or transfer this data to a cloud storage platform or share.

Couchdrop with ETL
A standard example process could be similar to the below where data is transformed into a CSV and then be directly uploaded via SFTP where a webhook event is sent to a partner's platform to then pull down the data for their use.

As Couchdrop SFTP enables you to connect any cloud storage endpoint in the backend (SharePoint, Dropbox, S3, Azure Blob, etc.) it is fully agnostic and enables you to get your data to a platform that can be utilized by yourself or an automation workflow in a simpler manner for processing.
Additionally, you could combine Skyvia with another no-code platform (Zapier, Boomi, or Xplenty) so that on the CSV being uploaded a webhook is sent and the other platform automatically pulls down the data and performs additional transformation or includes the CSV into another workflow.
How to export content from Skyvia into another workflow
- Step 1. Create a Couchdrop SFTP account
- Step 2. Configure Couchdrop SFTP as a Skyvia connection
- Step 3. Create an export workflow
- Step 4. Utilize Couchdrop SFTP webhooks to initiate the next step of the workflow
Step 1. Create a Couchdrop SFTP account
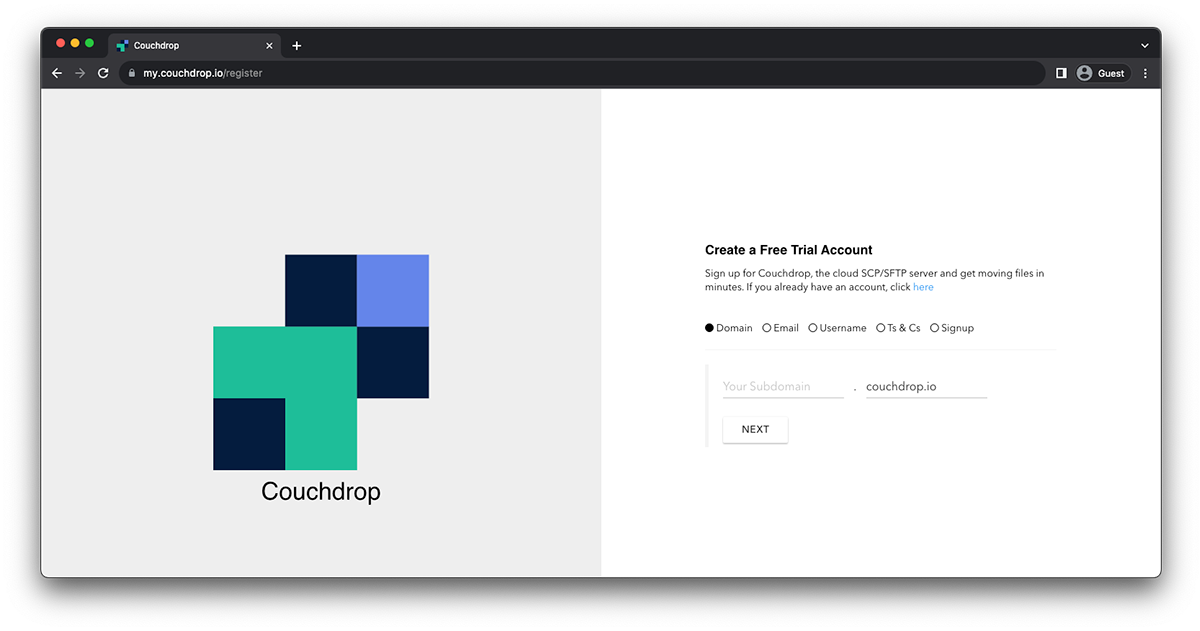
First, you will need a Couchdrop SFTP account. You can then connect your own cloud to the backend or use Couchdrop’s hosted storage. Additionally, you can create users who are restricted to certain file operations and paths.

Step 2. Configure Couchdrop SFTP as a Skyvia connection
Once you have a Couchdrop SFTP account you will need to create a new connection in Skyvia by clicking +NEW -> Connection. Enter your details into the fields and use your subdomain as the Host [subdomain.couchdrop.io].

Step 3. Create an export workflow
Select your source connection from the dropdown, in this case, it is the demo DB. Additionally, choose your Couchdrop SFTP as the destination connection and select your desired target path.

Create a task and choose the objects you would like to export as a CSV file.

When you are ready, run the task manually to test that it is working.

If you check Couchdrop's audit logs after the test, you can make sure the transaction was successful.
Step 4. Utilize Couchdrop SFTP webhooks to initiate the next step of the workflow
For this step, we have included Skyvia and Integromat to complete an easy-to-see workflow. In this situation, when Skyvia uploads the CSV file, Integromat is alerted via a webhook to then pull the file down, reupload it elsewhere, and delete the file from the source. For another guide on ETL, workflows and Integromat see here.
 Again, make sure to test that the connection is working. One benefit of using Couchdrop for this task is that you can also easily move the file between your cloud storage platforms automatically using Couchdrop automations.
Try Couchdrop for 14 days to test with your own Skyvia exports
If you want to make sure Couchdrop will work for your specific use case with Skyvia, you can test it out yourself with a 14-day trial. You don't need a credit card and you don't have to book any calls if you don't want to. You can simply sign up and go. Sign up for your free trial now to get started.